Design Your Own Art Project
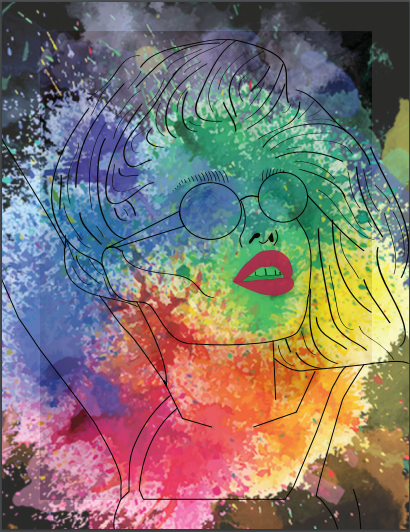
For this project, I decided to trace an image in illustrator. I am interested in line art and I wanted to do something that was challenging and that had a lot of detail to it. I used the pen tool to trace and the paintbrush tool to do the hair. I used different sized strokes to get the texture that I wanted. I also made a poem in Creative Writing to go with this project. In that class, we had to create an art piece that went along with our poem. My poem was about racism and how it wasn't your race the define but it's your thoughts and beliefs that do. That is what the splattered pain effect represents in this piece. It is important to express yourself through art because sometimes you can't get words out of your mouth right. I even have trouble trying to say the things I want to say in words so I express it in art.
Logo Design Project
I had to take many steps in order to create my final logo. It was hard for me to come up with creative ideas in the beginning so I just decided to play around with my initials. I tried to find creative ways to fit my initials together but I never liked any of my sketches. My digital arts teacher helped me by suggesting that I find the meaning of my name. I found out the my name meant sea and sun in Spanish. Thanks to this, I was finally able to create something I liked. I sketched out a few ideas using the meaning of my name. There were various drafts but each one had small changes to them. I chase the one I liked best and then it was time to create it in Adobe Illustrator. Once I had an outline of my logo, I filled it in with a gradient. I didn't' know how to apply a gradient using this program but I was able to learn how to do it with this project. The next step was to put my logo on clothing or items. It is important to have an eye catching logo because people will want to learn more about your company and you will get more customers or supporters.
Political Cartoon
|
I wasn't able to do what the rest of the class was doing because I am in a different grade level then them so we are learning different things in class. For my project, I decided to do a political cartoon about the UN (something we are learning in humanities). I learned that using different stroke sizes can add depth to the project. I chose to trace this image because it helped me realize how the UN is making promises but they never fully complete that promise. Everyone is expecting something spectacular but they are disappointed by what they actually get.
|
Utopia/Dystopia Visual Aid
Made with Adobe Illustrator.
Project Reflection:
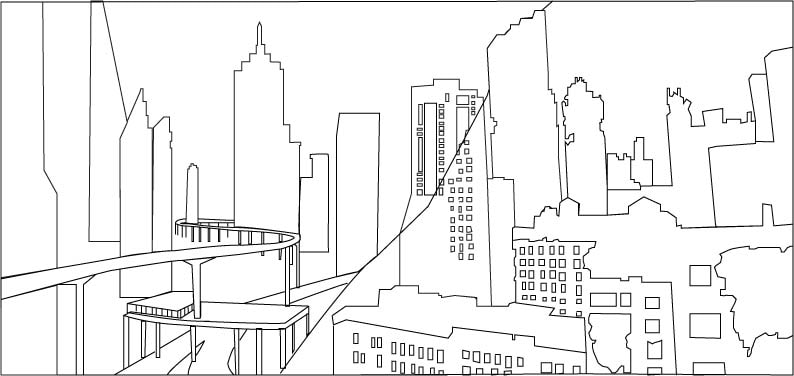
The goal of this project was to design or create a digital visual aide that is connected to the ideas of a utopian or dystopian world. In my project, I outlined a city that displayed both the utopian and dystopian sides of a city. It was hard to create a destructive look with the distopian side so I decided to make holes in the buildings.
Project Reflection:
The goal of this project was to design or create a digital visual aide that is connected to the ideas of a utopian or dystopian world. In my project, I outlined a city that displayed both the utopian and dystopian sides of a city. It was hard to create a destructive look with the distopian side so I decided to make holes in the buildings.
Teacher Creature Project
Project Reflection:
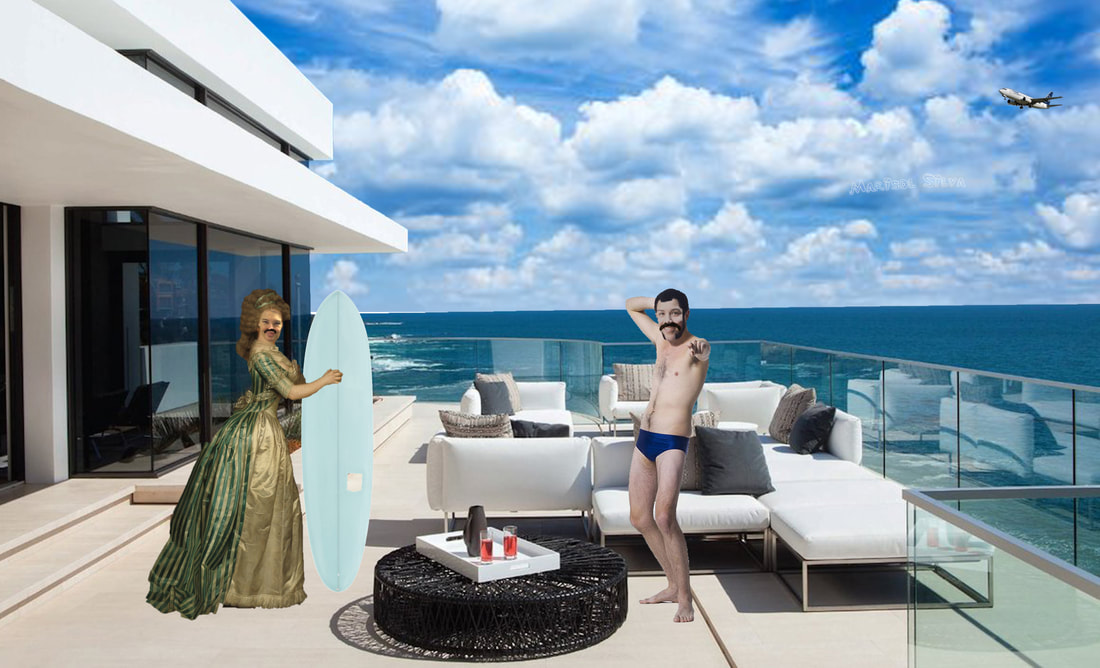
When I first started this semester, I didn't know how to make a selection and refine its edges. I also didn't know how to adjust the color on an image to make it match a a certain hue. I figured out how to add backdrops to make the text stand out. I learned how to d all these things at the end of this semester.
When I first started this semester, I didn't know how to make a selection and refine its edges. I also didn't know how to adjust the color on an image to make it match a a certain hue. I figured out how to add backdrops to make the text stand out. I learned how to d all these things at the end of this semester.
Tutorial Project
|
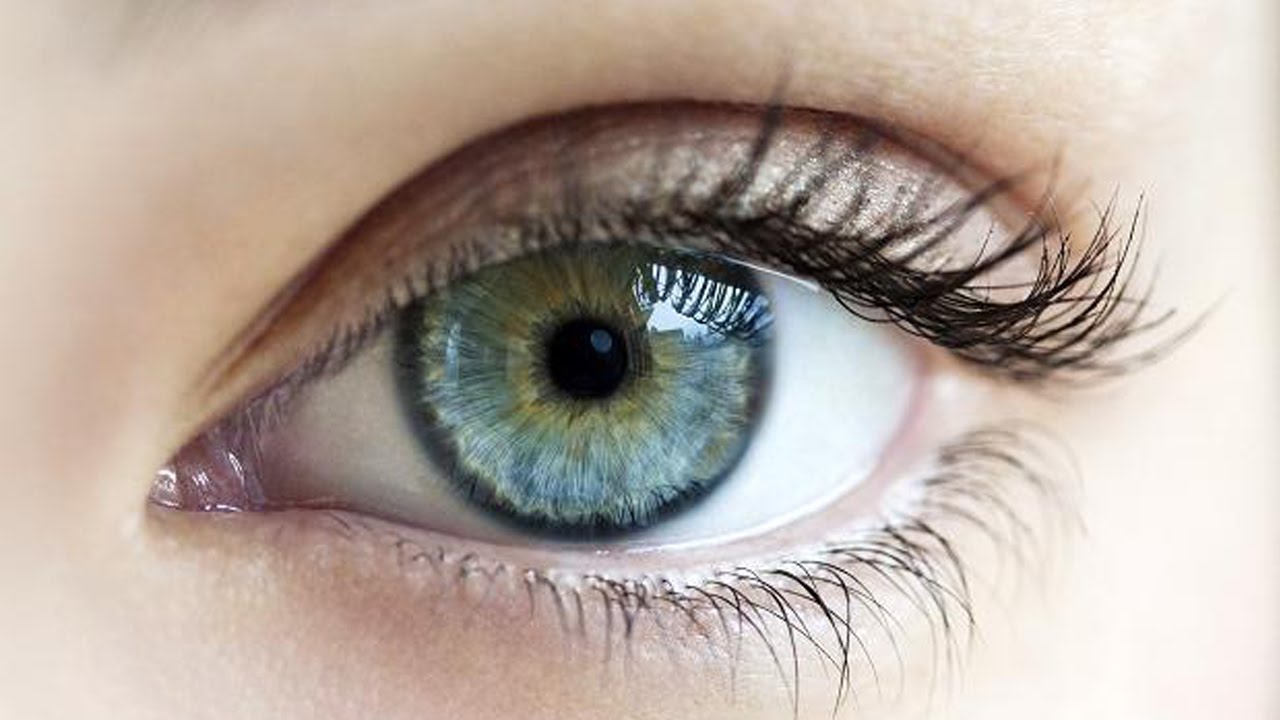
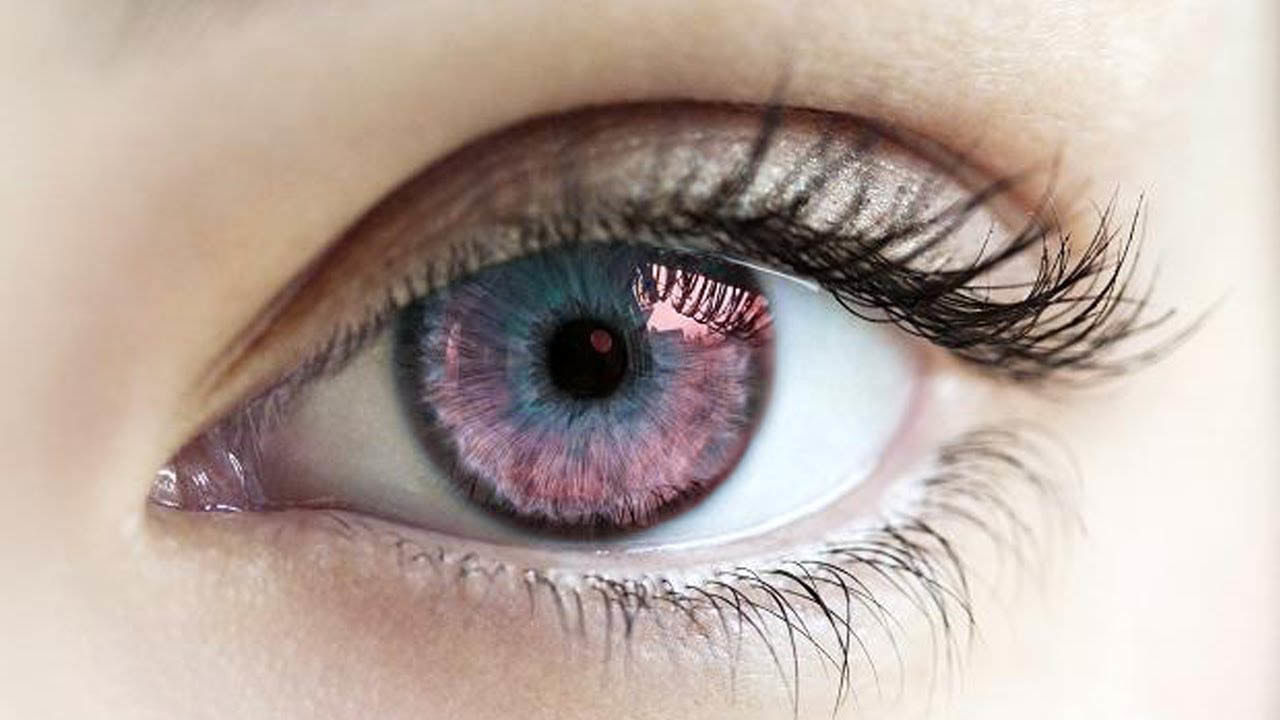
Original
|
Photoshopped
|
The first thing I had to do was unlock the background layer. Then, I traced the eye using the pen tool and made it a selection. After that, I clicked "ctrl u" to change the color hue. I found the color that I wanted and pressed "ok".


|
Original
|
Photoshopped
|
Once the portrait was open, I opened the cracked texture image and sized it to it the face shape. I darkened that image and multiplied it. I used the eraser tool set on size 100 to erase the eyes, mouth, eyebrows. Using size 100, I erased around the face.

|
Original
|
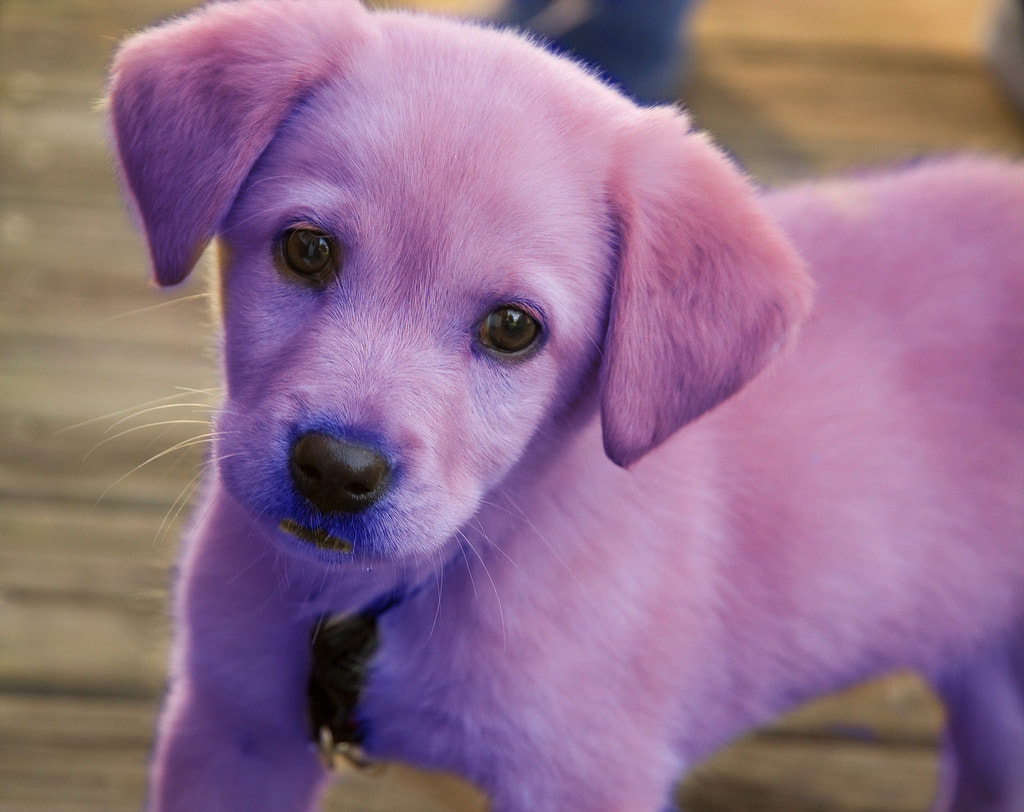
Photoshopped
|
The first thing I did was create a new layer and set the blending mode to soft light. Then I selected a color from the color palate and started coloring the puppy's hair with the brush set on size 300. After that, I came in with the eraser tool, set on size 45, and cleared up the edges, eyes, and nose. Once that was complete, I clicked on the adjustment layer icon and selected "Hue/Saturation". Then I had to create a clipping mask to adjust the hue and saturation.
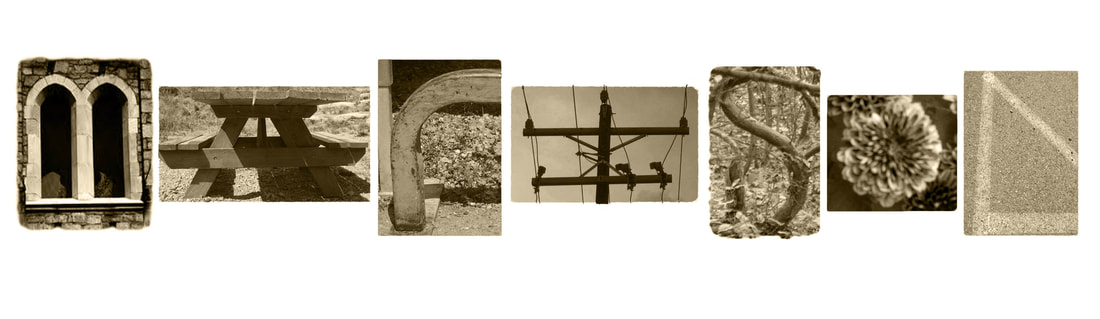
Letter Project
Project Reflection:
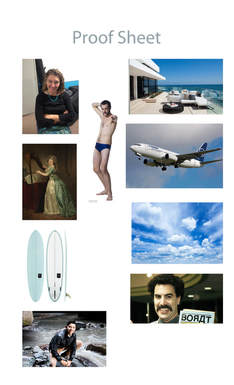
I learned how to see things from different perspectives. Instead of just using letters to create my name, I had to find objects and take pictures of them from an angle that made them look like letters. For this project, you had to be really creative and I think that I did an ok job with that. We also learned that having a unified project makes it look better. I accomplished this by putting the same filter on all my pictures. I also made all the edges slightly round.
I learned how to see things from different perspectives. Instead of just using letters to create my name, I had to find objects and take pictures of them from an angle that made them look like letters. For this project, you had to be really creative and I think that I did an ok job with that. We also learned that having a unified project makes it look better. I accomplished this by putting the same filter on all my pictures. I also made all the edges slightly round.
Photoshop CC Basics: http://jetsetcom.net/useful-resources/photoshop-cc-resources.html
SHOW and TELL Photoshop Basics: http://simplephotoshop.com/photoshop_tools/index.htm
SHOW and TELL Photoshop Basics: http://simplephotoshop.com/photoshop_tools/index.htm
